Guide
-
Open Session History
Click Playback in the Liveline sidebar.
-
Find the session
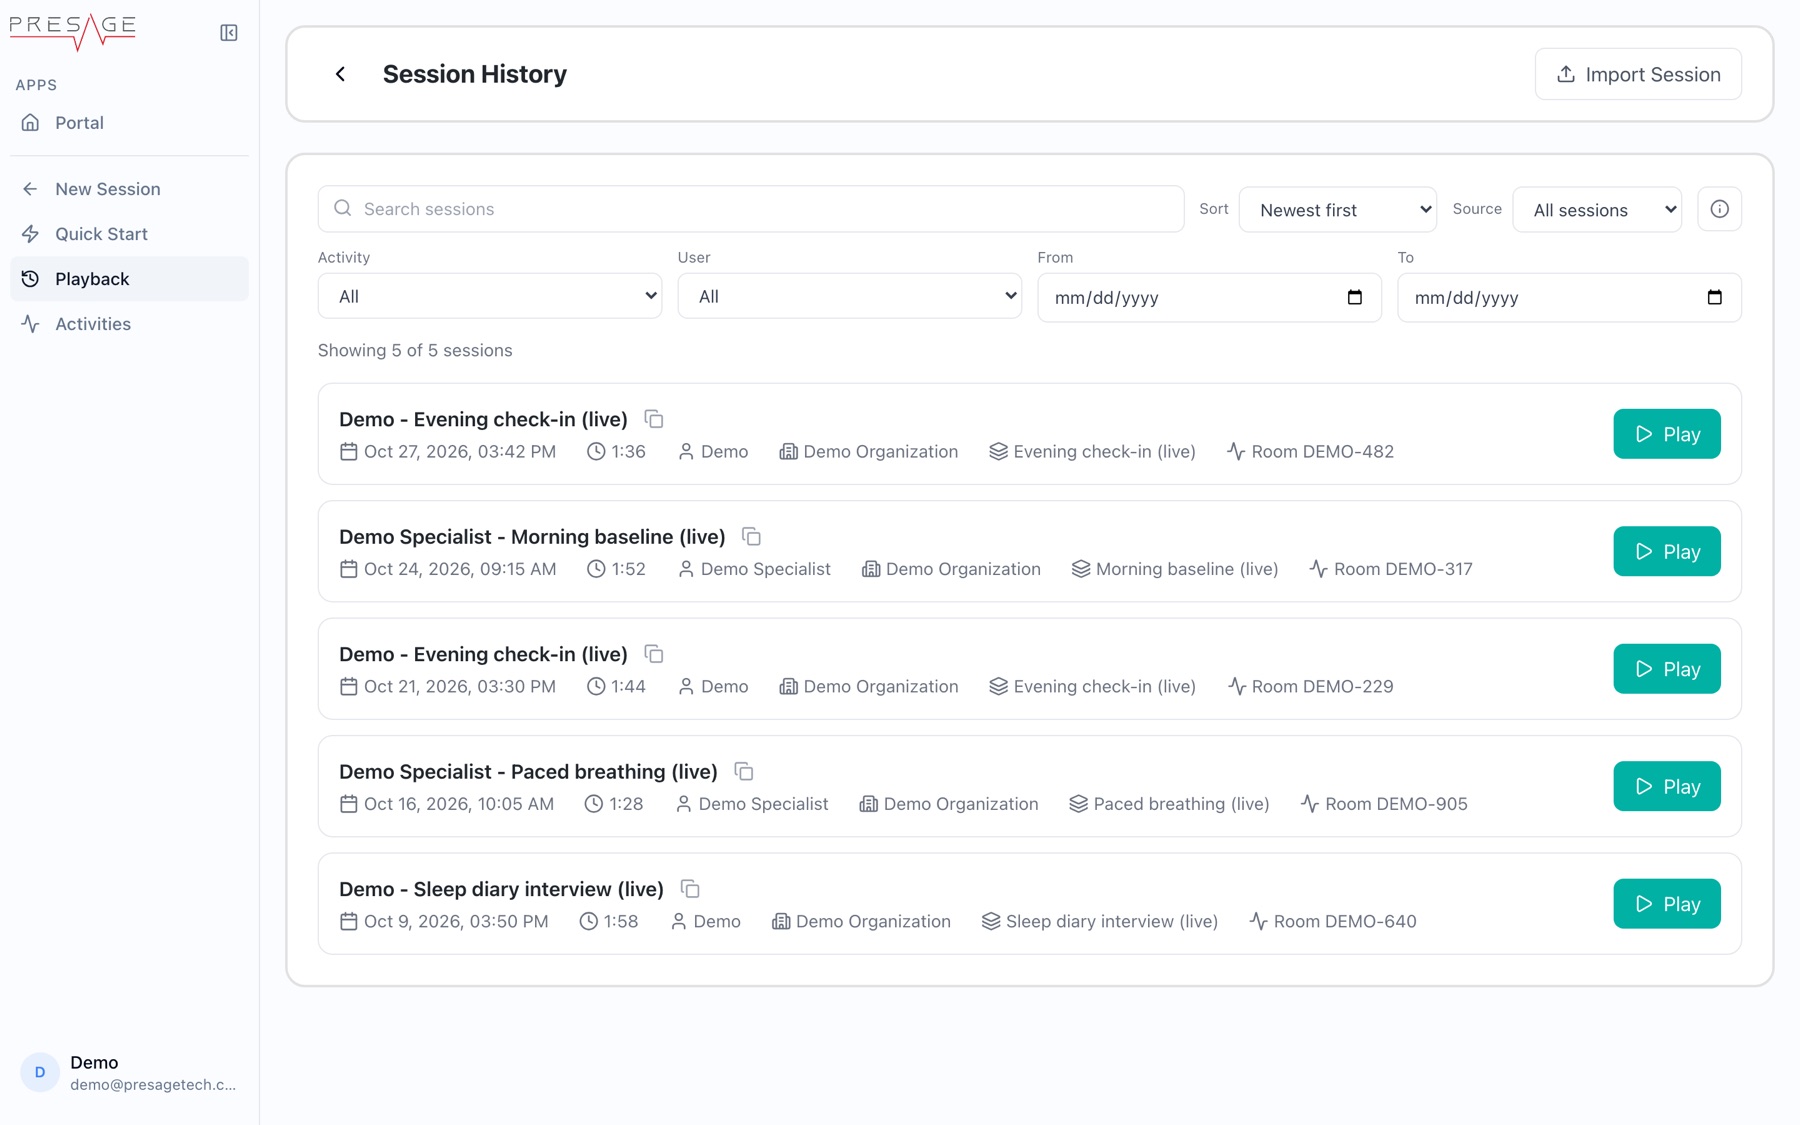
Search, or filter by Activity, User and date range. Once a filter is on, Clear filters resets them.
Session History -
Play it
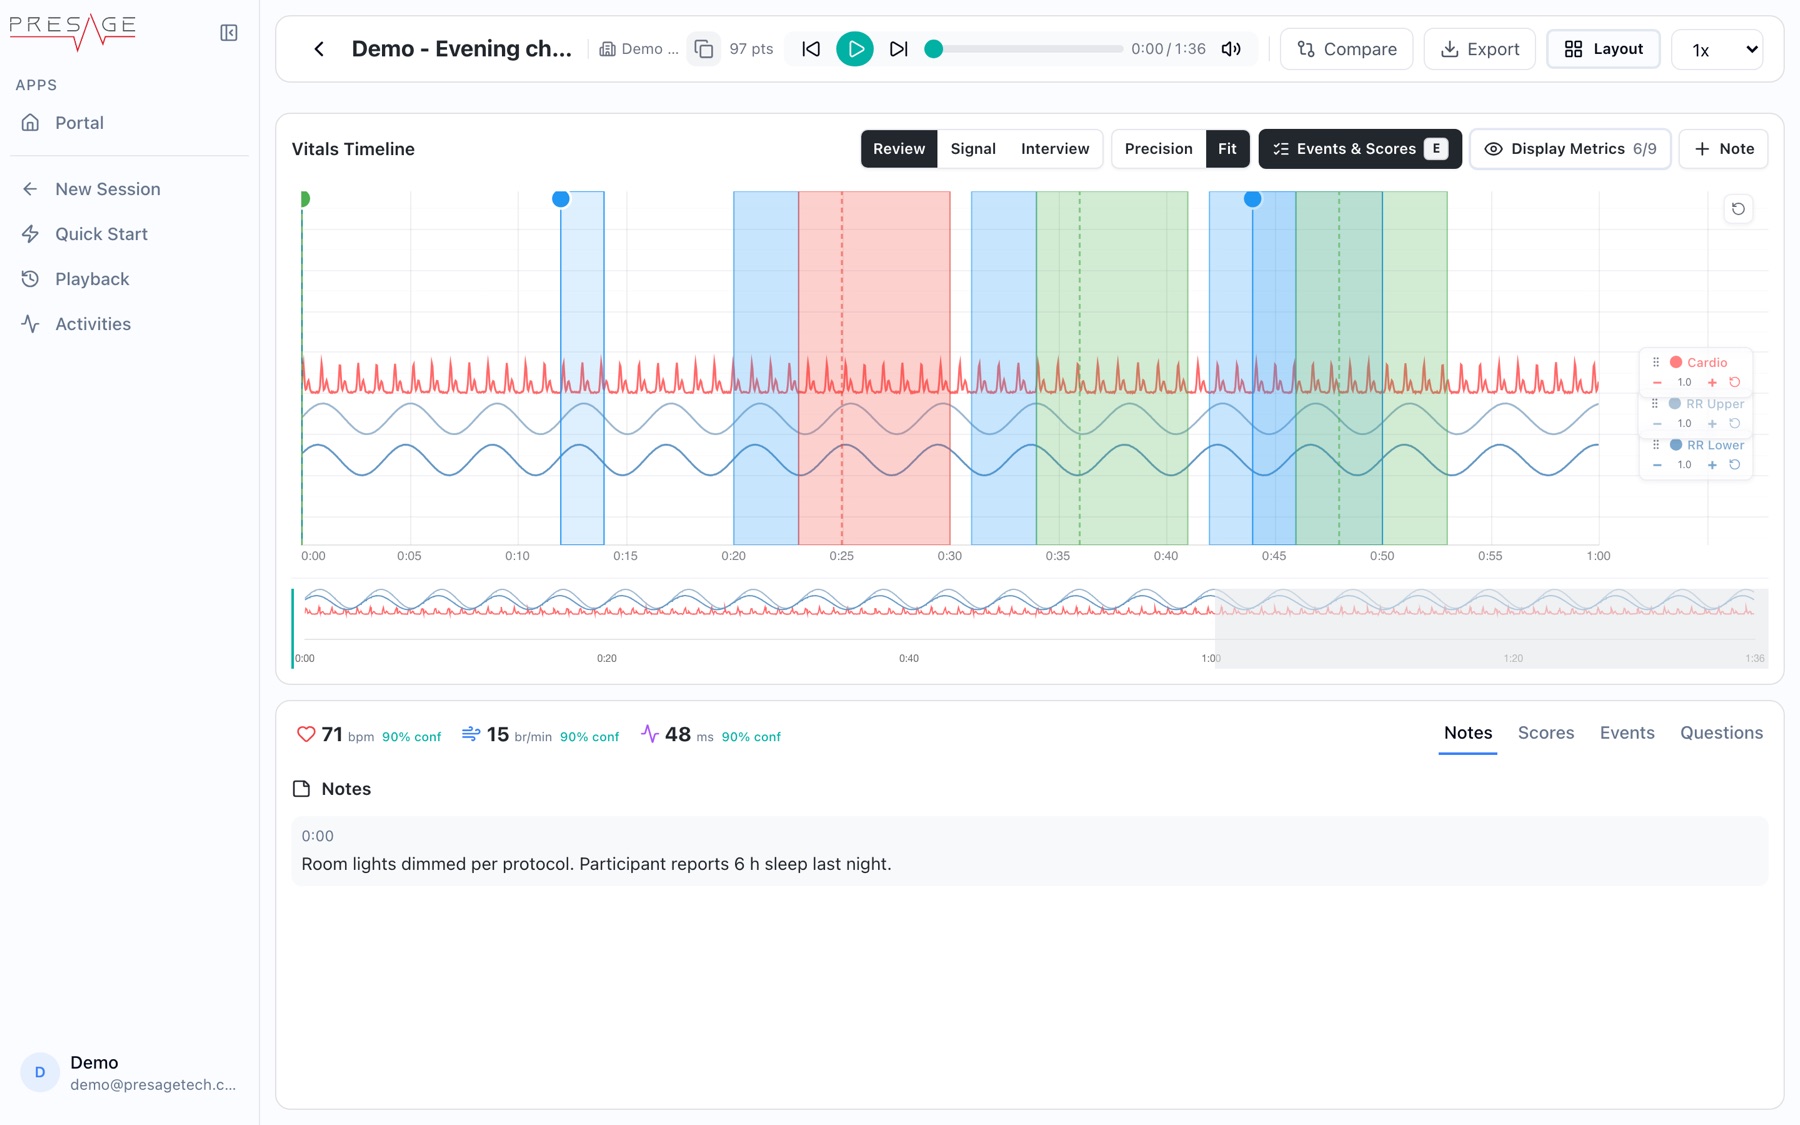
Click Play on a row. The playback screen opens with video and vitals in sync.
Session playback (camera panel hidden) -
Move through it
Drag the scrubber at the top, skip 10 seconds back or forward, or click in the overview strip below the chart. Change speed with the 0.5x to 2x menu.
-
Mark what matters
Click Note, or click anywhere on the chart to comment at that exact time.
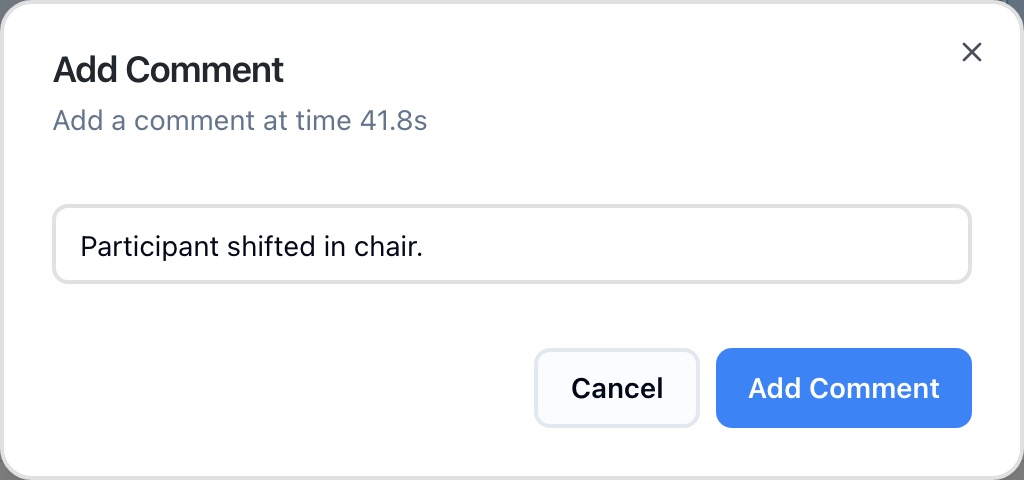
Clicking the chart adds a comment at that time
Session History
- Each row: the specialist and activity, date and start time, duration, organization and room code, with a Play button. The copy icon copies the session ID.
- Sort: Newest first, Oldest first, Duration longest or shortest, Person A to Z or Z to A, Activity A to Z or Z to A.
- Source: All sessions, Imported only, or Live only.
- Import Session: open a session bundle exported earlier. See Export session data.
Session status
| Status | Means |
|---|---|
| Ready | Complete playback data is available. |
| Partial | Some data was captured, but the session may be incomplete. |
| Failed | Recording or processing did not finish. |
The playback screen
- Header: participant, organization, session ID, time range and the number of data points ("pts").
- Controls: skip back 10 s, play, skip forward 10 s, scrubber, mute, Compare, Export, Layout and speed.
- Start offset: a banner explains when video starts later than vitals. Recording starts once the device is streaming its camera, so the first second or so of vitals has no video. Those vitals are still included in exports.
Vitals Timeline
Three views change how the channels are drawn:
- Review: the default overview of every channel.
- Signal: channels scaled up to show waveform detail.
- Interview: channels spread for following changes across a conversation.
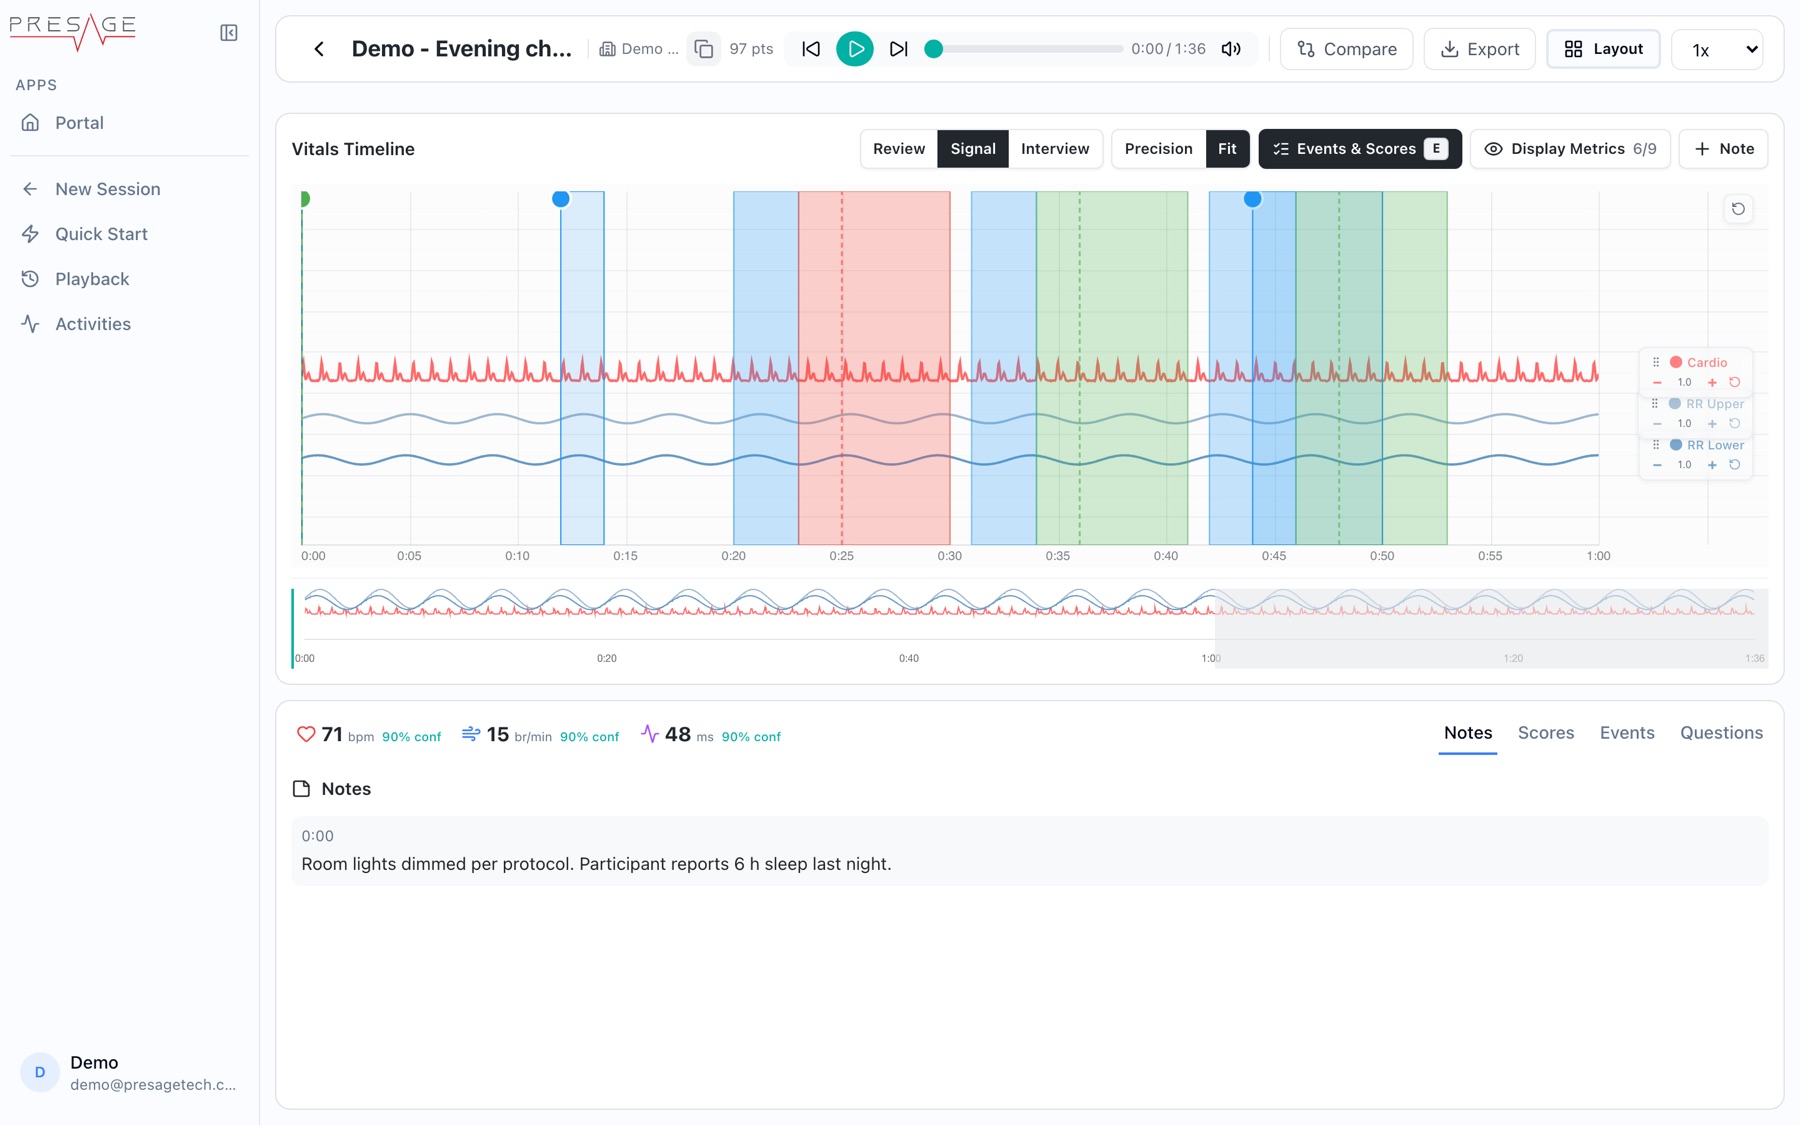
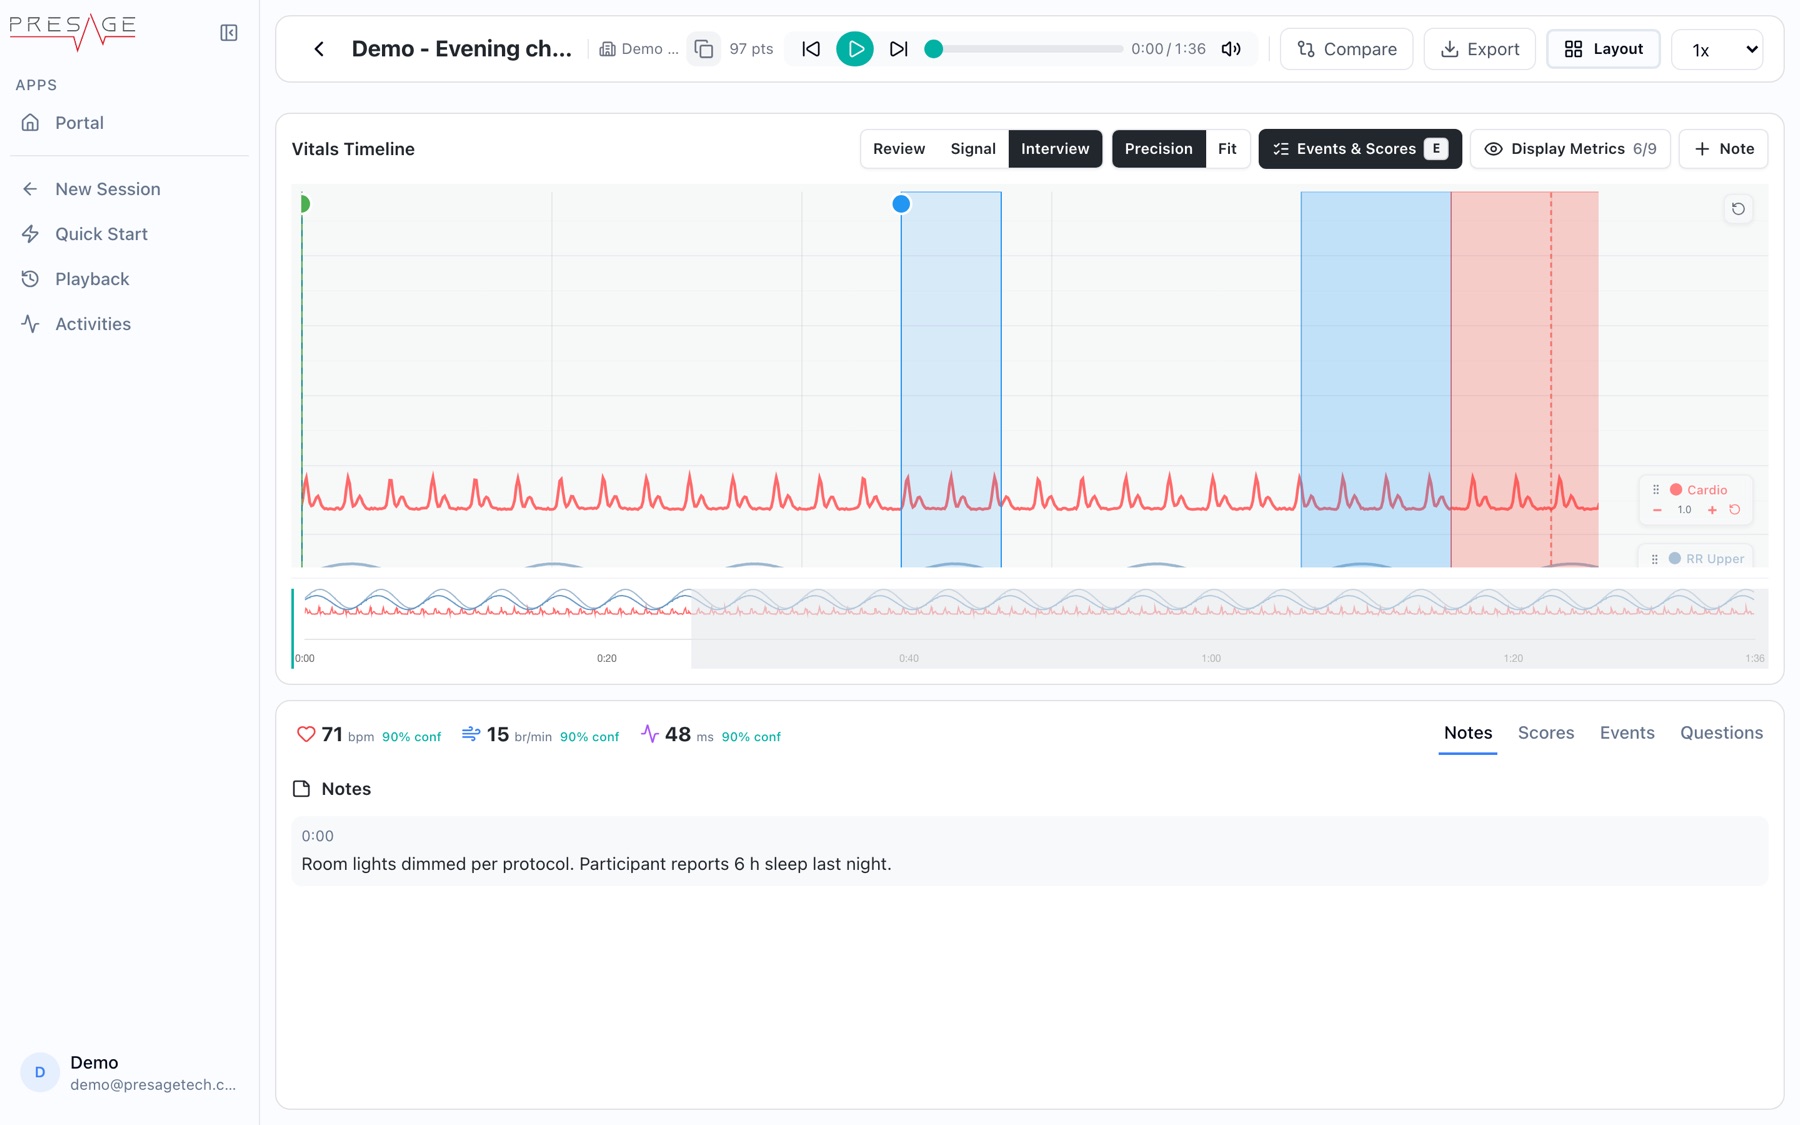
- Precision: fixed chart speed and band height, so measurements carry over between live and playback. The plot scrolls instead of shrinking.
- Fit: scales the plot to fill the panel. Easier to read at a glance, but measurements don't carry over between live and playback.
- Events & Scores: shows or hides event and score markers. Shortcut E.
- Channel controls: on the right of the chart, use − and + to halve or double a channel's scale, drag to reposition it, and reset one channel or all of them.
- Overview strip and Camera Status: below the chart, a full-session overview for jumping around, and a color bar showing camera quality across the session.
Display Metrics
Click Display Metrics to choose which channels are plotted. The count shows how many are on, for example 6/9. Use Show all or Hide all to switch them together.
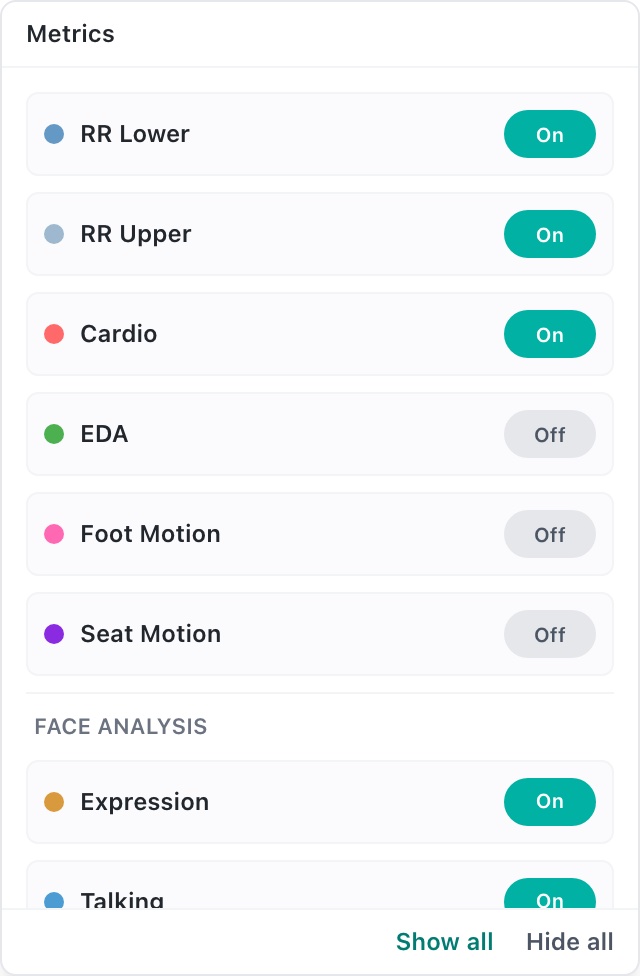
| Group | Channels |
|---|---|
| Metrics | RR Lower, RR Upper, Cardio, EDA, Foot Motion, Seat Motion |
| Face analysis | Expression, Talking, Blinking |
Camera Feed and readouts
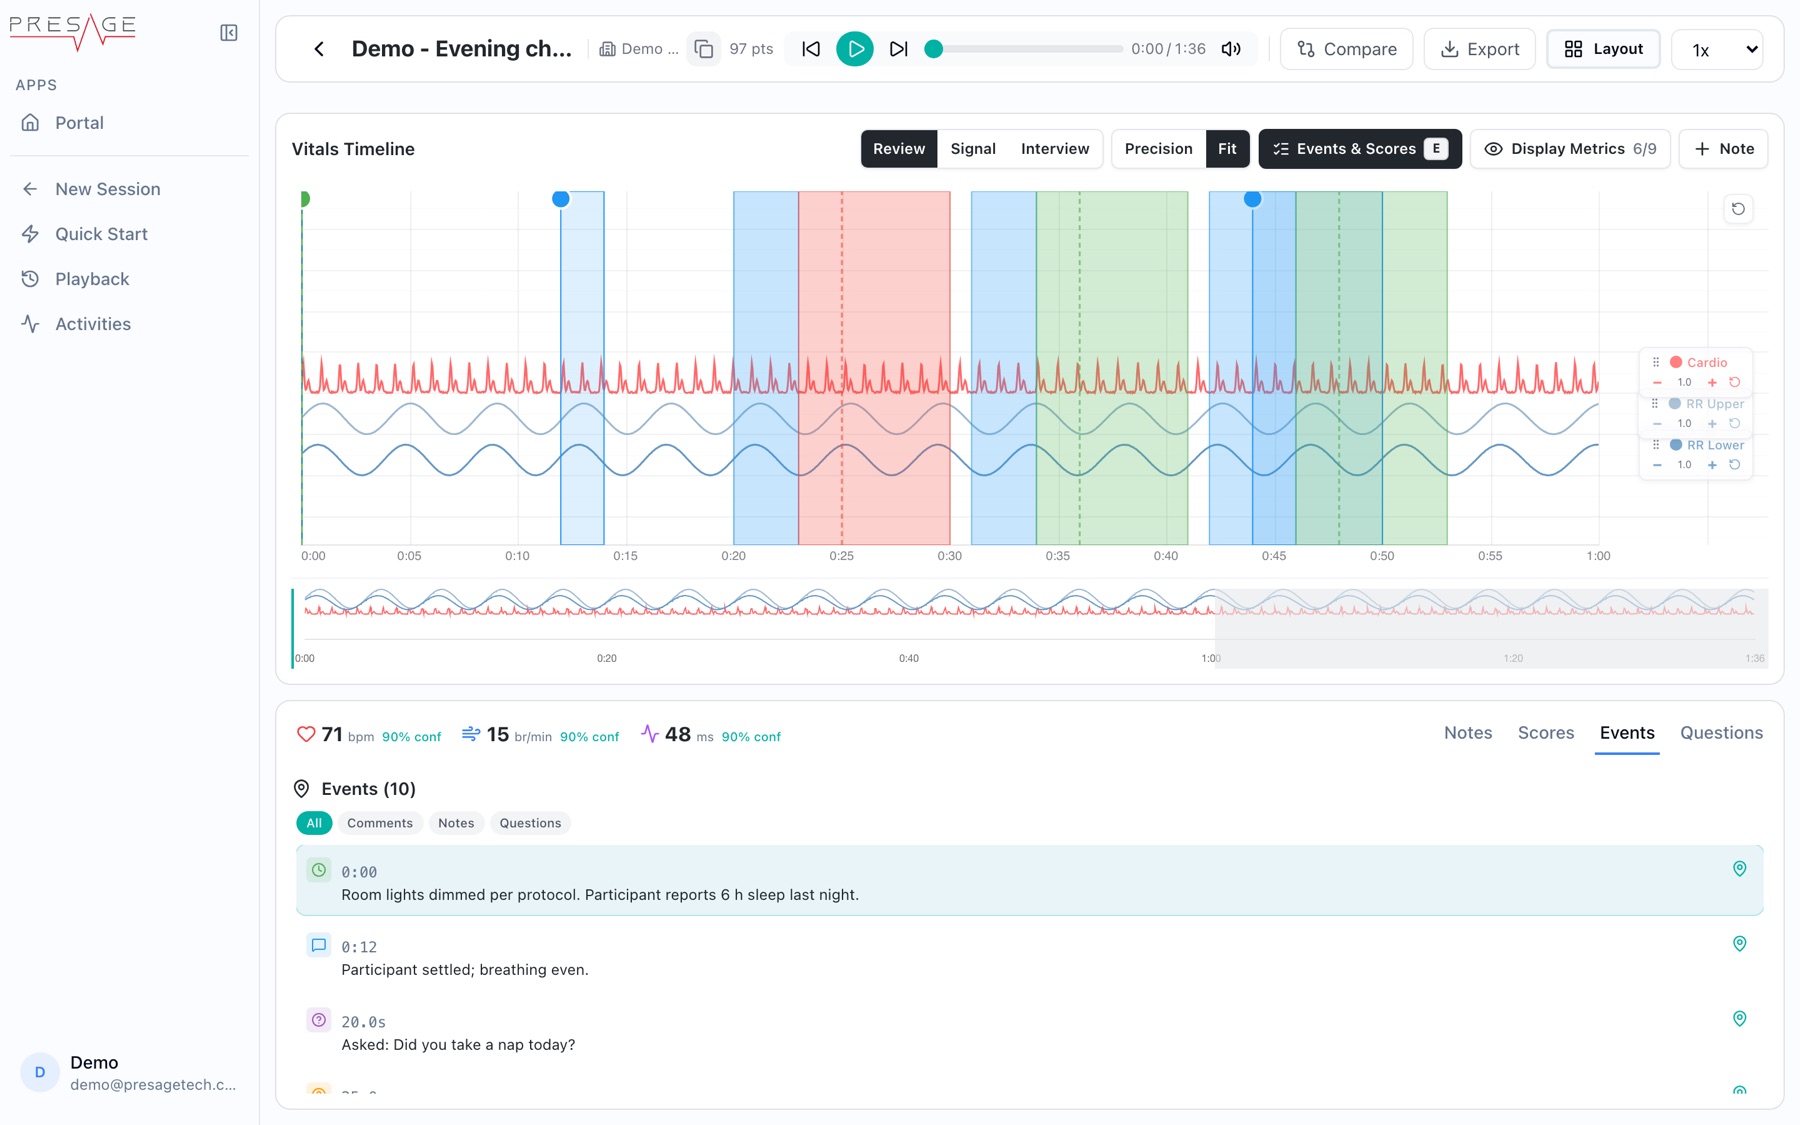
The Camera Feed plays in sync with the chart. Press C to hide or show it. Next to it, live readouts show pulse (bpm), breathing (br/min) and HRV (ms) at the playhead, each with a confidence percentage.
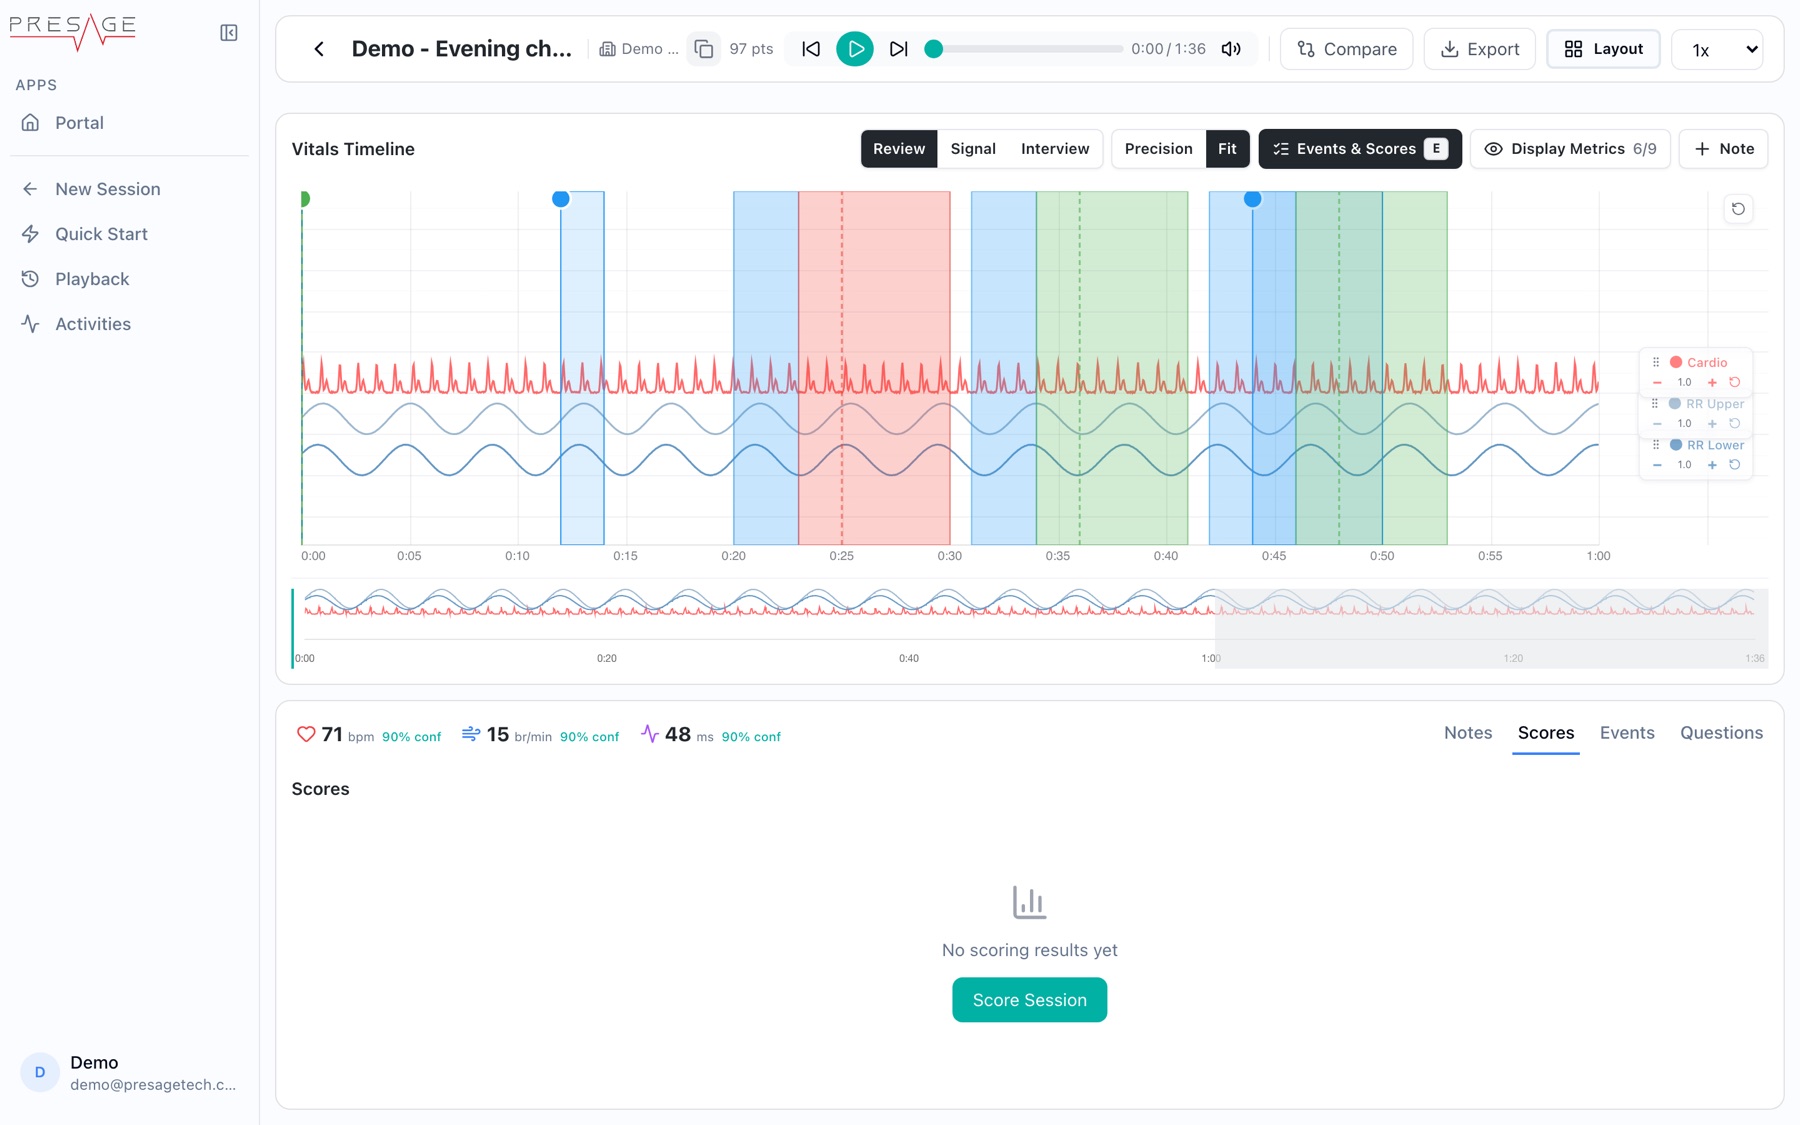
Notes, Scores and Events
- Notes: notes added during or after the session.
- Events: a timestamped list of comments, notes, answers and camera events. Filter with the chips at the top, and click an item to jump to that moment.
- Questions: the questions asked during the session and their answers.
- Scores: click Score Session to run scoring on the session.
Compare sessions
-
Click Compare
Select up to 3 sessions to compare, then click Add Session (the button counts how many you picked).
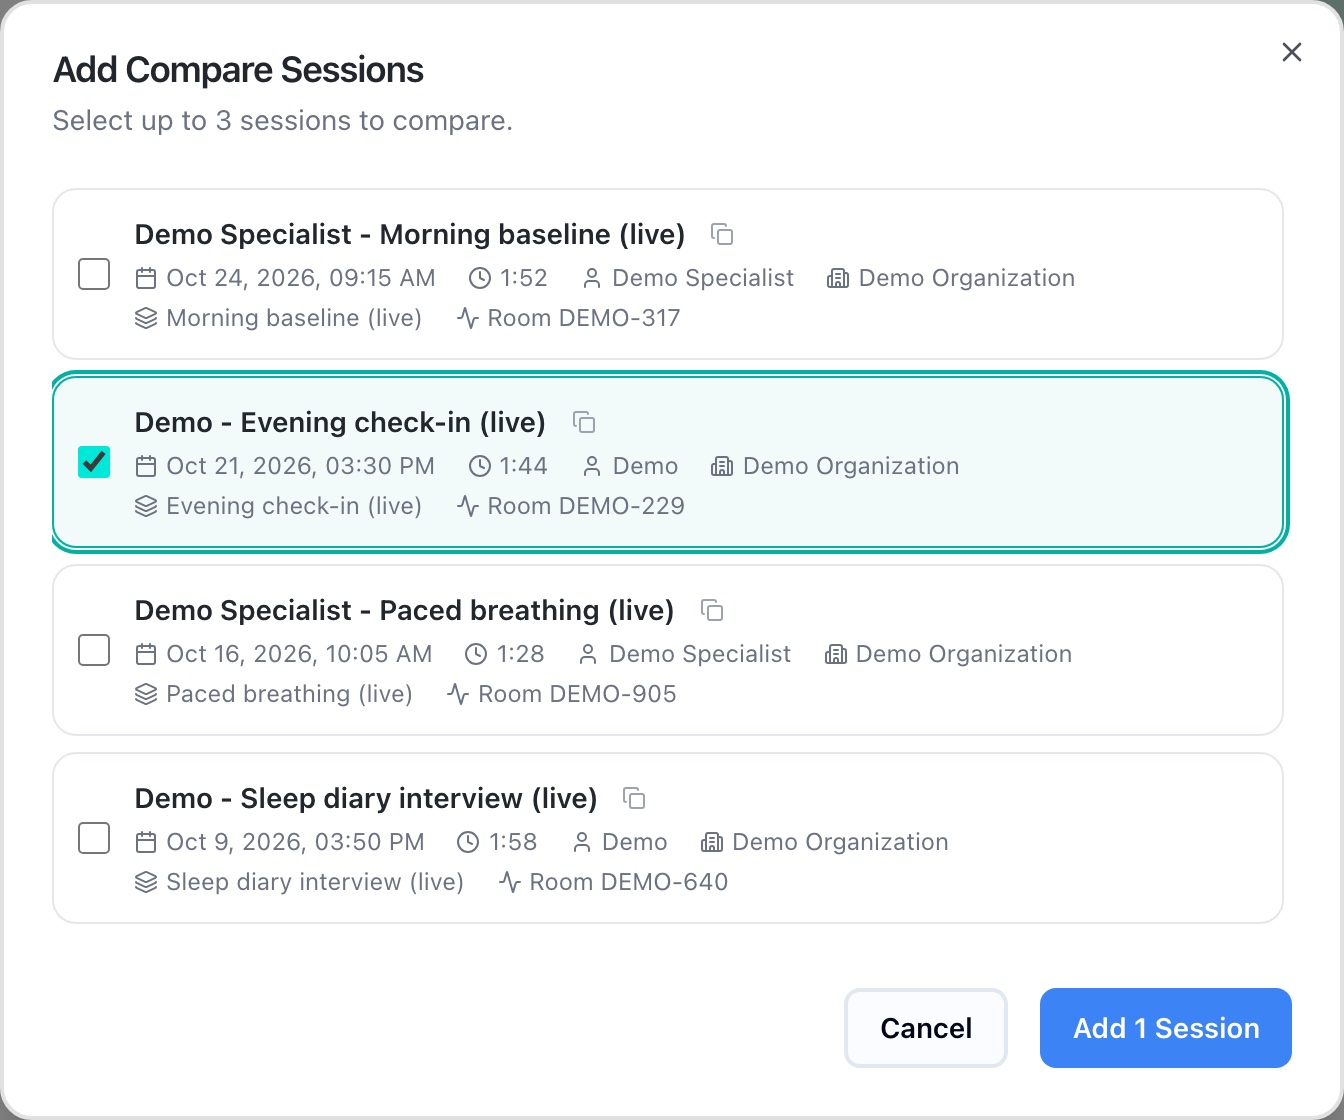
Add Compare Sessions -
Pick a reference
The Reference menu sets which session the others line up against. Each compared session has controls to reorder, hide or remove it.
-
Choose a layout
Side by Side, Stacked, or Overlay, which draws the sessions on one chart.
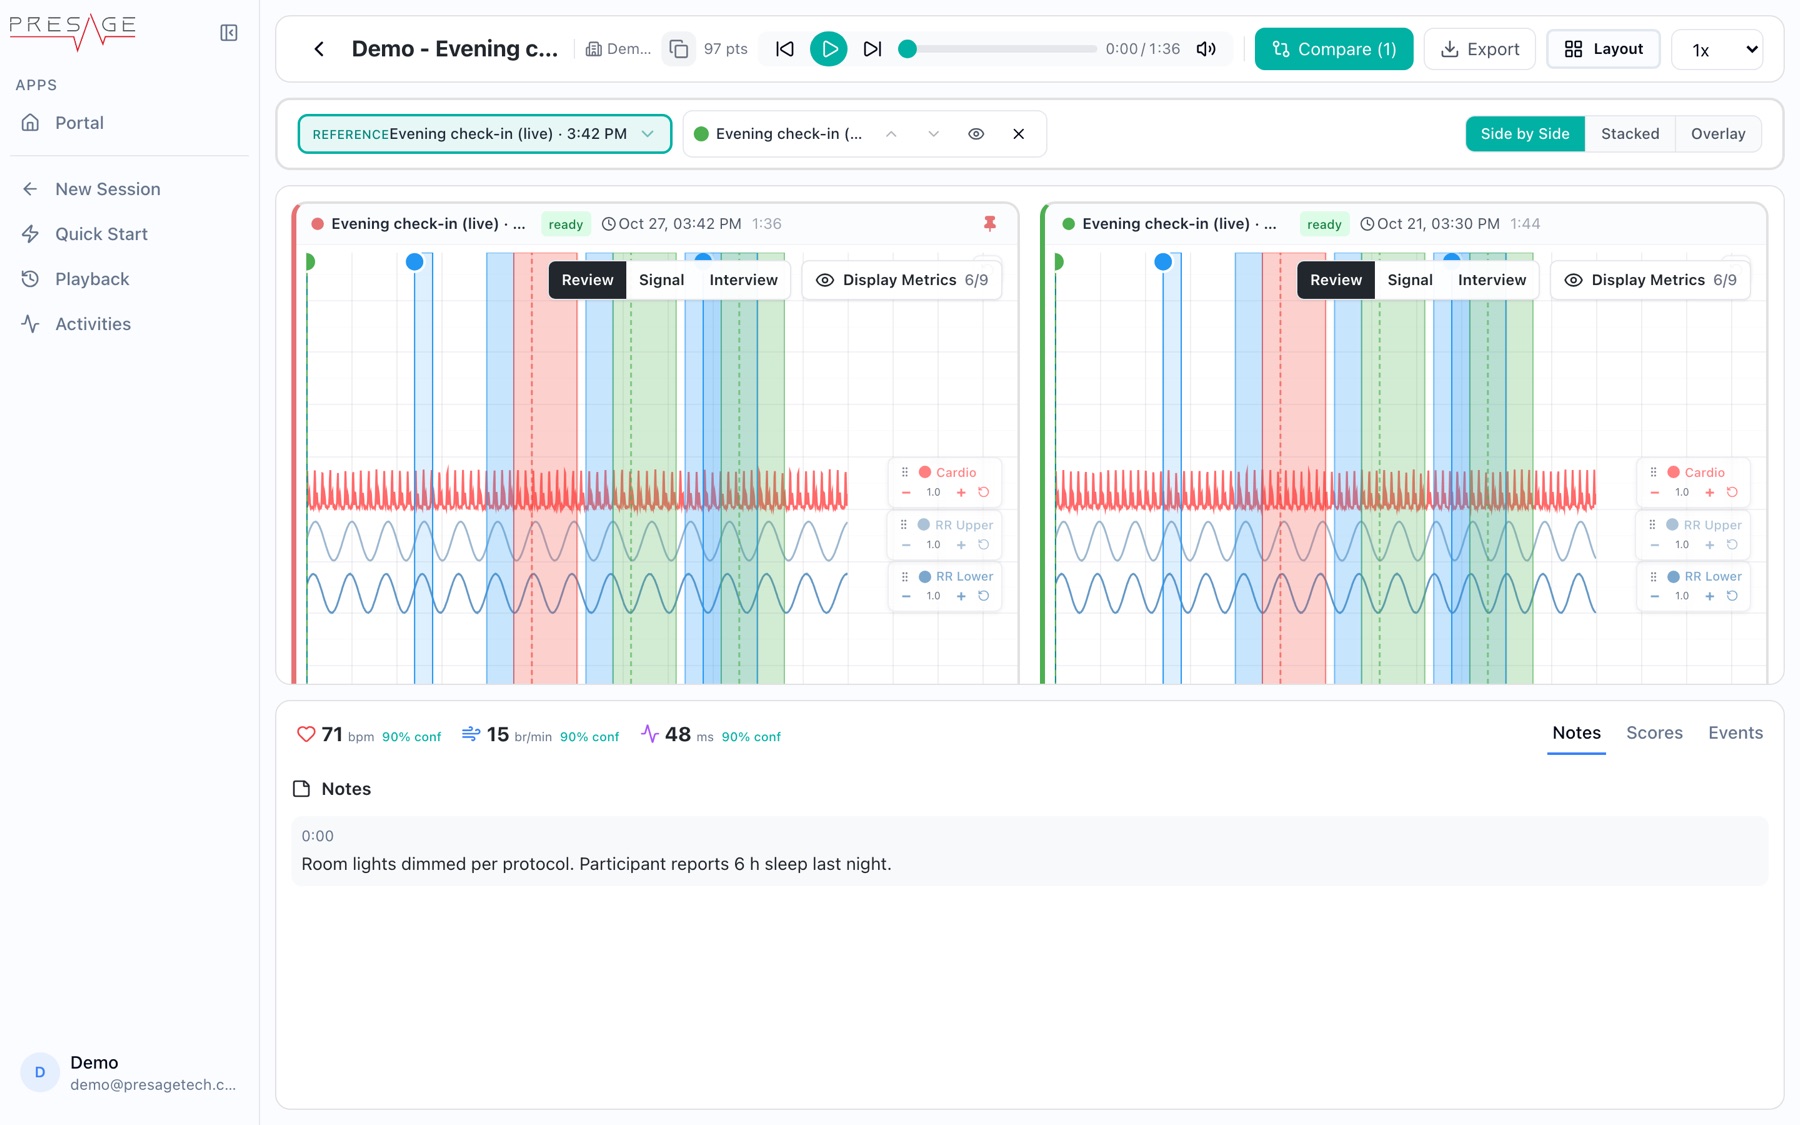
Side by Side 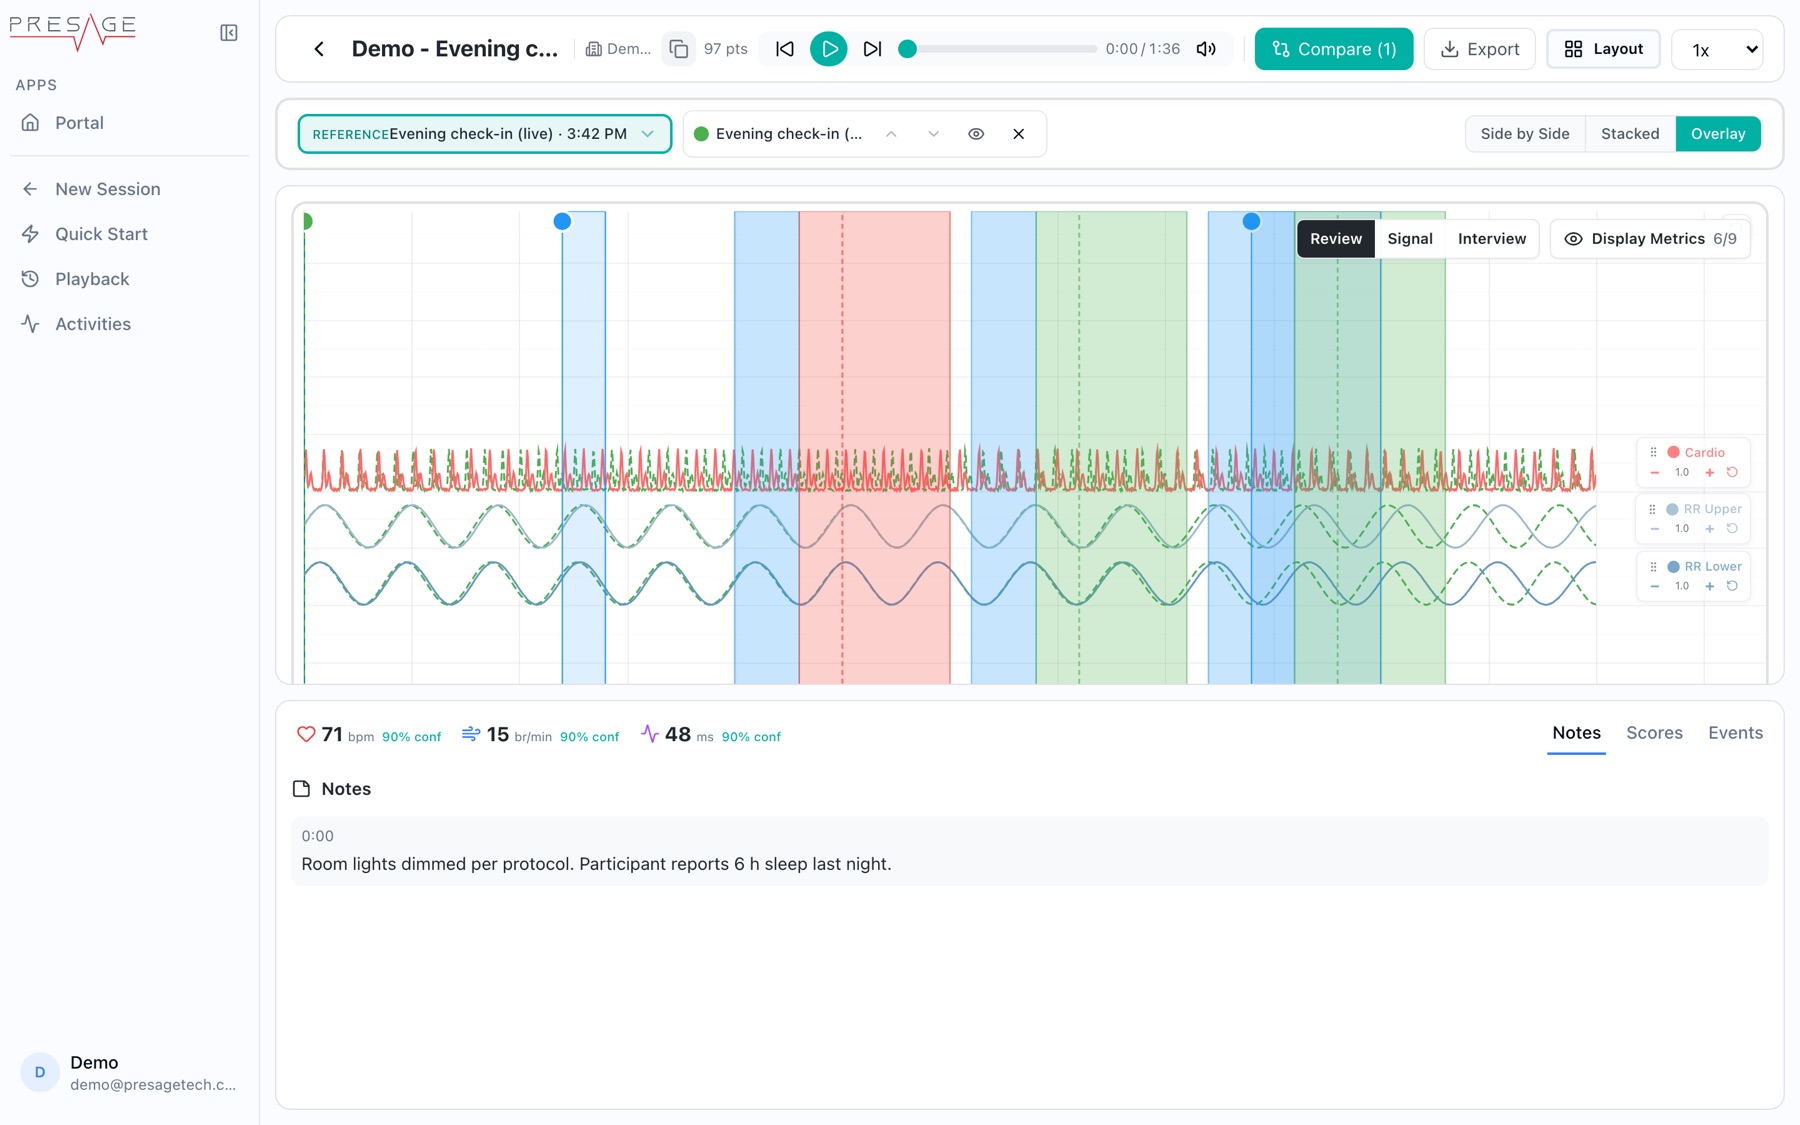
Overlay
Customize the layout
Click Layout to choose which panels appear and where. Check two or more panels in the same area to group them as tabs, side by side, stacked, or an accordion. Your layout syncs across your devices. Click Reset to System Default to undo.
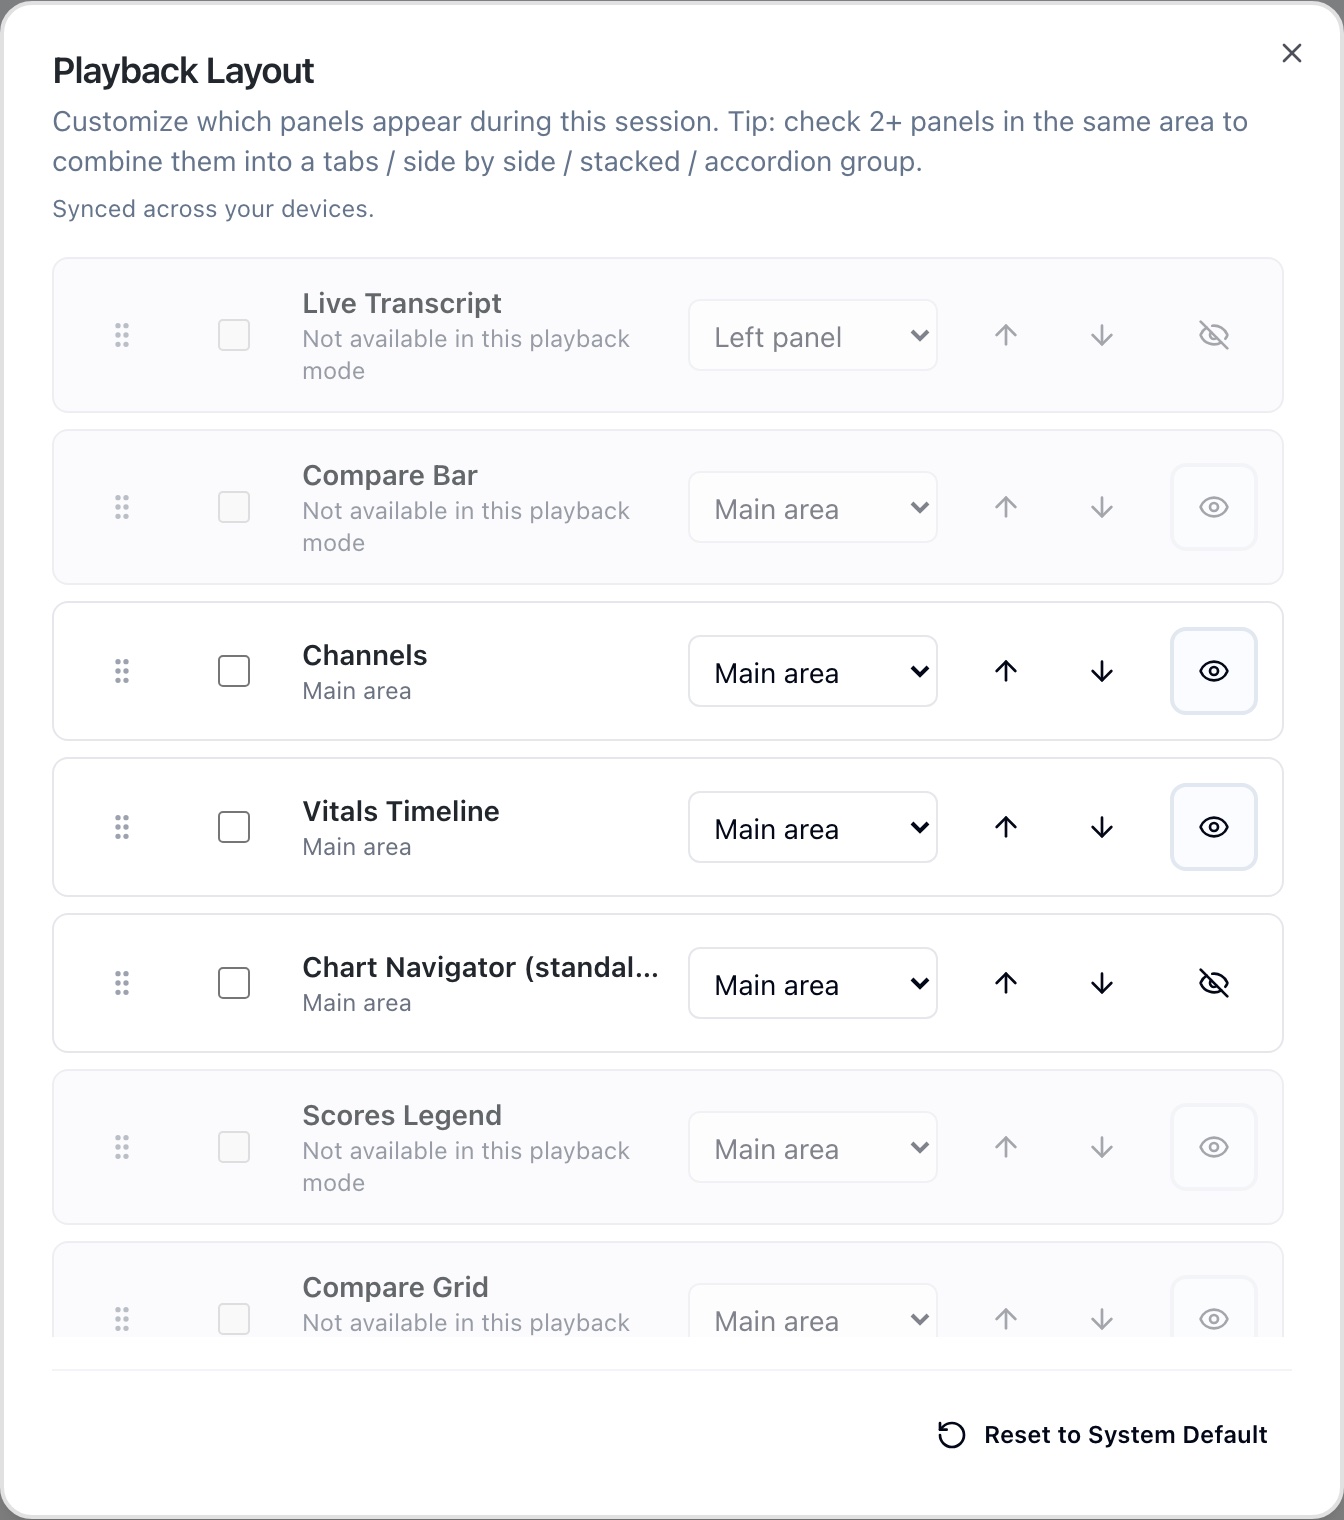
Panels include Channels, Vitals Timeline, Chart Navigator, Compare Grid, Frame Analysis, Playback Controls, Media, Vitals, Session Info, Face Landmarks, and a bottom group of Notes, Scores, Events and Questions. Some, such as Live Transcript and Compare Bar, only work in certain modes.
Keyboard shortcuts
| Key | Action |
|---|---|
E | Show or hide events and scores |
C | Show or hide the camera feed |
FAQ
Why does the video start a second after the vitals?
Recording starts once the device is streaming its camera, shortly after the first vitals sample. Playback begins where the video starts, and the earlier vitals are still in exports.
Can I share a session with a colleague?
Copy the session ID from the header or the Session History row.